
Your cards are ready to send….
You’ve spent time and energy creating cards for those special someones in your life. You address the envelope and put a stamp on it. It’s ready to go or is it? Before you seal up the envelope and put your card in the mail, remember the finishing touches!!
The recipient of the card will certainly appreciate your efforts. Your creation might just end up on display in the homes of the recipient. And the recipient will probably show it to everyone in the house, including visitors.
Do you need some ideas on what finishing touches to add?
Let’s start with the envelope
It’s a hand crafted card…what additional finishing touches are needed? Well, did you add anything to the envelope besides the stamp and address? How about adding to the fun by giving them a hint of what’s to come?
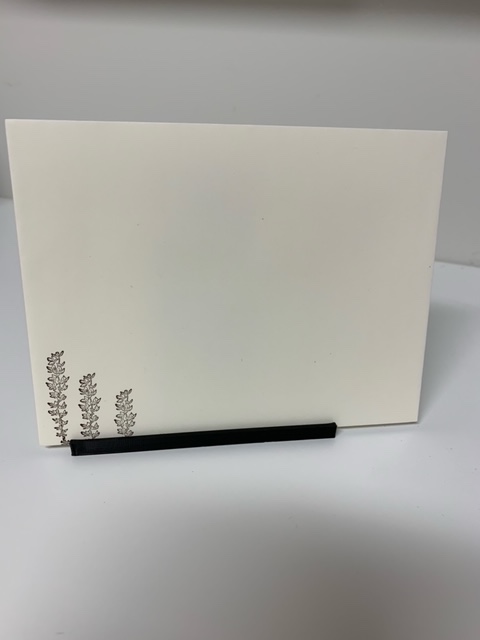
First, you can consider adding a stamped image on the envelope that coordinates with the theme of the card?
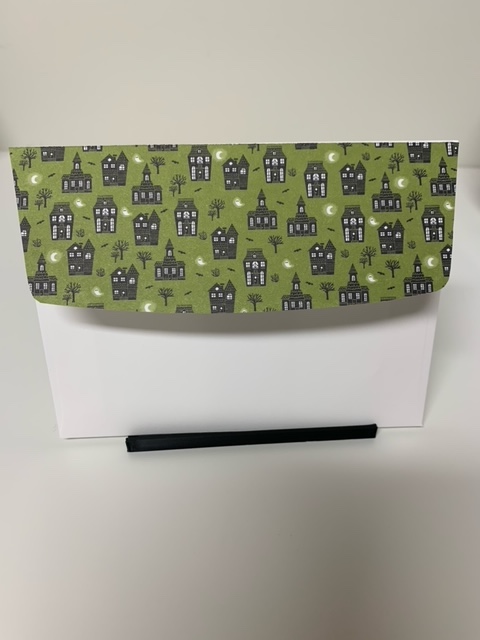
Second, you can consider adding coordinating Designer Series Paper (DSP) to the flap of the envelope.
Third, how about doing both?
Adding these touches to your envelopes adds another layer of excitement and anticipation for the recipient. They will already be excited to see your handwriting on the envelope and they probably know they will find one of your lovely cards inside. But your sneak peek at what’s inside will make them even more eager to open the envelope.
Now it’s time to look inside the card.
I admit that I get so focused on the outside of the card, that the inside is often left blank. Because I like to write notes in my cards, I tend to include the main sentiment on the front of the card. But that is no reason to leave the inside completely void of decoration.
1. If you have a larger stamp you would like to use, you can stamp it in a light color or “stamp-off” some of the ink on a piece of scrap paper before stamping inside the card. This will give you a lighter colored image that you can stamp your sentiment over or that you can even write on.
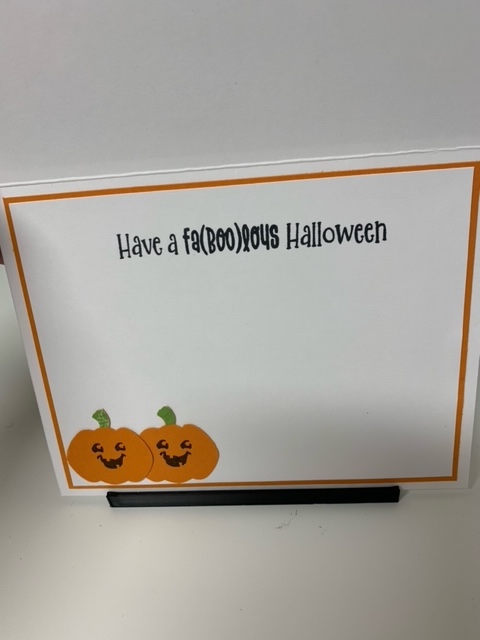
2. Use smaller stamped images on the inside of the card to add some pops of color and to continue the theme.
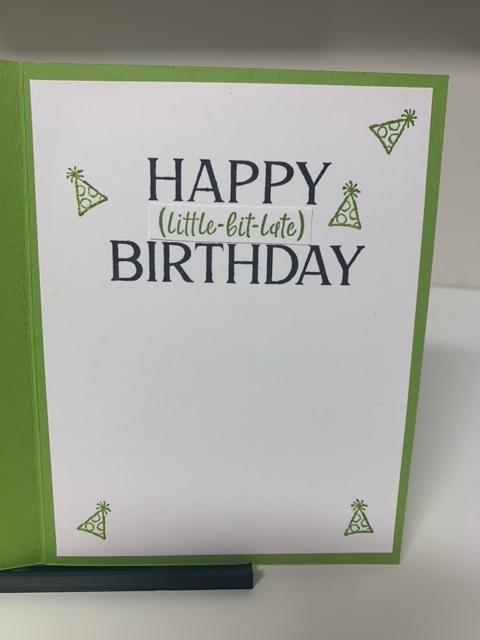
3. A very simple way to tie the interior of the card to the exterior is by adding a thin strip of coordinating card stock or DSP along one of the edges of the interior.
4. You can layer the panel for writing your message on a piece of coordinating card stock. It’s important to always do this when your card base is a darker color so there is a lightly colored space for your message. I sometimes do this even when I am using a white card base. If the front is heavy from layers of DSP, card stock, embellishments, ribbons, etc, I tend to layer the inside to balance out the card.
Now it’s your turn!
Let’s see what finishing touches you add to your envelopes and the insides of your cards. Feel free to comment with photos of your work or send me an email with your photos. (elisa@creatingwithelisa.com)
Keep on creating!!
Keep creating beautiful cards for your friends, families and even charitable organizations!! We can all use reasons to smile…why not be the reason someone else smiles?!
Happy Crafting!
Elisa O’Neill