
Here is a quick peek at some Christmas cards from a recent class. The ladies who attended were really put to work as these cards were not difficult but had many steps!
I’ll briefly describe each card. Hopefully something you see here will give you ideas to use in your own crafting,
Would I make many multiples of these cards
While these cards were super fun to make, two of them were time consuming because of all the steps involved. So, I probably wouldn’t make a large number of them. I will say, however, it always goes faster making multiples if you take an organized approach. Completing step 1 for all the cards before moving to step 2 is the way to go for multiples of whatever cards you are making.
How are your Christmas cards coming along?
Most likely, you have already designed your Christmas cards and are well on your way to completing and mailing them. Never-the-less, take a peek at these cards in case you need an extra special card for someone. These designs can be modified and made into gift tags.
Love the penguins
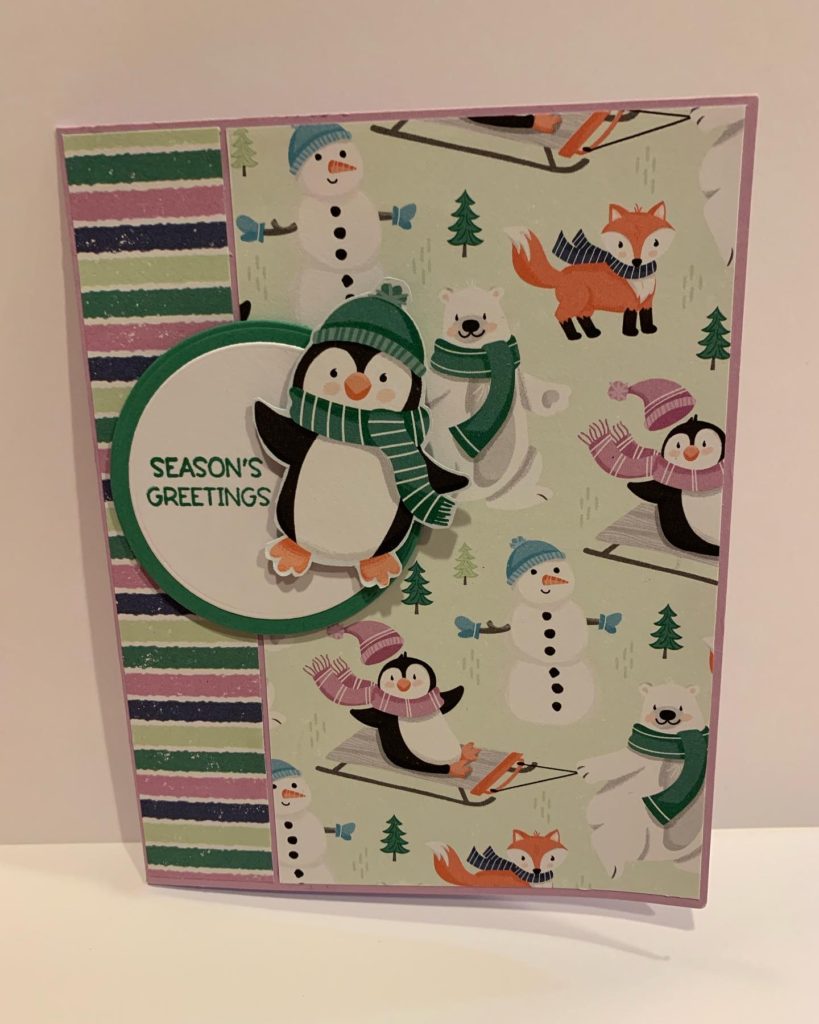
This card is colorful and fun. It was also the easiest card we made so we made it at the end of class! The DSP is a previous SAB gift that coordinates with the Penguin stamps and punch. The penguin was fussy cut from the DSP. The sentiment was the only thing that was stamped. A little cutting and a little assembly made this cute card. The card base can be made with any of the coordinating colors from the DSP.
As I like to say, it is a-okay to let the DSP do the heavy lifting in your card designs. In this case, the scene on the DSP is lively and fun. Using a large section of this DSP creates a lovely scene in the background. The stripes add contrast and interest to the card.
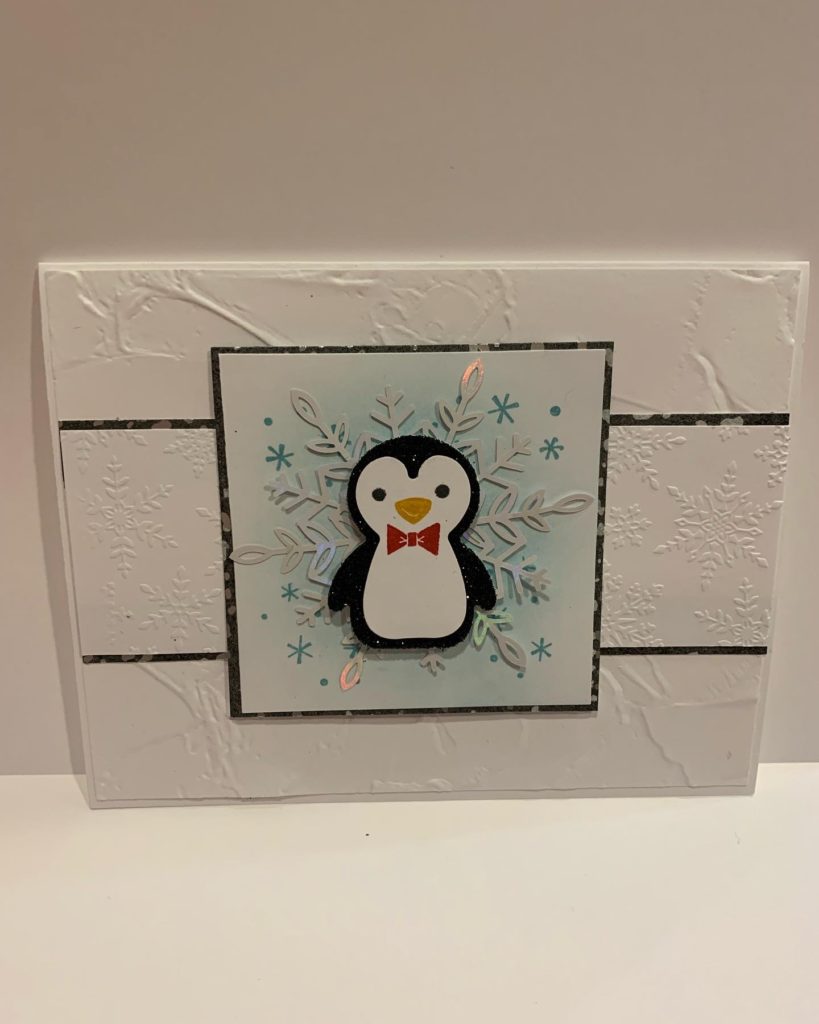
This is my favorite card from the class. There are many steps to this card. Two embossing folders, a punch, some stamps, a blending brush, glitter paper, DSP and more are needed to create this Christmas card. Actually, this card design can be for Christmas, a winter birthday, to celebrate an achievement during the winter season and more. Easily change up the purpose of the card based by changing the sentiment stamped inside.
The black part of the penguin is crafted with black glitter paper. He is quite the dapper fellow when seen in person!
Additionally, mixing embossing folders adds additional dimension to your projects. The embossed patterns visually differentiate the card stock layers of the same color.
Christmas Trees
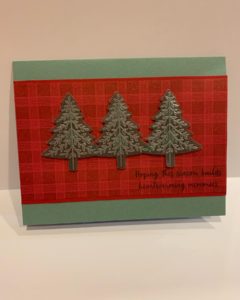
Next up is a card featuring sparkly evergreen trees. The plaid pattern creates a cozy look for this card: think of a cabin in the woods surround by snow covered pine trees and a warm red blanket.
Make the sparkling trees by heat embossing in silver on sparkle vellum paper. Be careful when embossing on vellum so it doesn’t overheat or burn. The powder will melt quickly. Use the pine tree to cut out the trees after heat embossing.
Our final card

Lastly we have a card created using a paper piecing technique. By die cutting the image from 3 different colors and mixing and matching, you create a multicolored image. An important note is how important it is to use the double sided adhesive sheets when working with the metallic specialty papers. Wayward adhesive on the metallic papers is frustrating and can be time consuming to remove. You might see some smudges on this sample from wayward liquid glue. (oops) I am sure I can remove the smudges with my rubber glue eraser but I wanted to leave it in the photo so you can see how messy it can be. Using the die cut adhesive sheets means the image is peeled off the sheet and applied to the ornament base mess free! The result is a much cleaner project.
Thanks for checking out the Christmas Cards
Thank you for taking the time to check out the cards from a recent class. The cards were not complicated, but definitely time consuming with multiple steps.
Good luck with all of your holiday projects, whatever they are! The recipients of your creations will be delighted!
Before I sign off, I ask you to send photos of your Christmas Cards! Afterall, we learn from each other by sharing our projects and lessons learned while creating. With your permission, I will post the photos in a future blog post. After the holidays, I will hold a random drawing for those who participate. You can add your photos to the comments or email them to me at elisa@creatingwithelisa.com.