
Attaching cling stamp labels to your Stampin’ UP! stamps.
Attaching cling stamp labels to your new SU! stamps should be quick and easy…NOT frustrating.
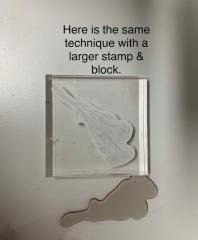
Prepping your new Stampin’ UP! cling stamps for use can be a bit frustrating when it comes to attaching the cling labels. Most of us have been taught to place the stamp on a block and then try to line it up on the label and press down. Well, that can be a difficult task, especially for bigger stamps, because it’s hard to see all the edges at once when lining up the label and stamp.
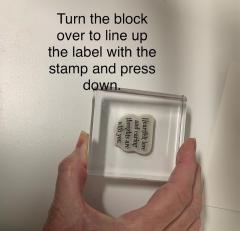
Simply flip your perspective.
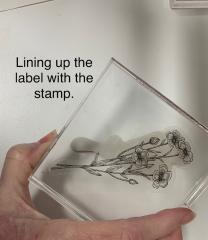
Even though we see ourselves as creative, we sometimes don’t think out of the box on the more mundane tasks of crafting. By simply flipping your perspective to bring the label to the stamp, this task suddenly gets much easier! It makes sense!! Now you can look through a clear label instead of looking around the edges of the stamp. So easy!!!
This series of photographs will show you a different way to attach cling stamp labels.


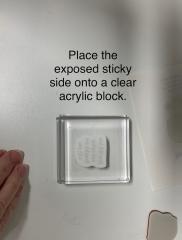
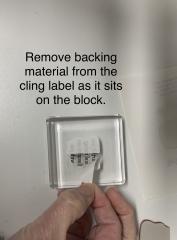
A trick I have for remembering what side to put down on the block first: 1 pull the one entire sheet off of the label to apply to the block, 2 pull the two pieces of backing off the label that have have been split for easier removal.
The images shown are from the new QUIET MEADOW stamp set in the new annual catalog. You can find it in my shop on May 4th.
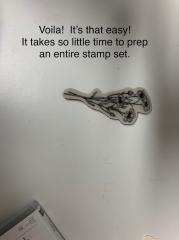
Now it’s time to craft!
This may seem like no big deal but give this technique of attaching the cling labels to the cling stamps and see if it makes a difference for you! While some people don’t put the labels on, i like having them on. (Maybe they don’t use them because of the frustration factor.) For me, as a SU! demonstrator, using the labels makes it easier & quicker for me to pull supplies for classes and to create samples.
I hope you find this tip a time saver that leaves you smiling instead of grimacing!
Let me know in the comments if you try this technique and if you think it makes a difference for you.